
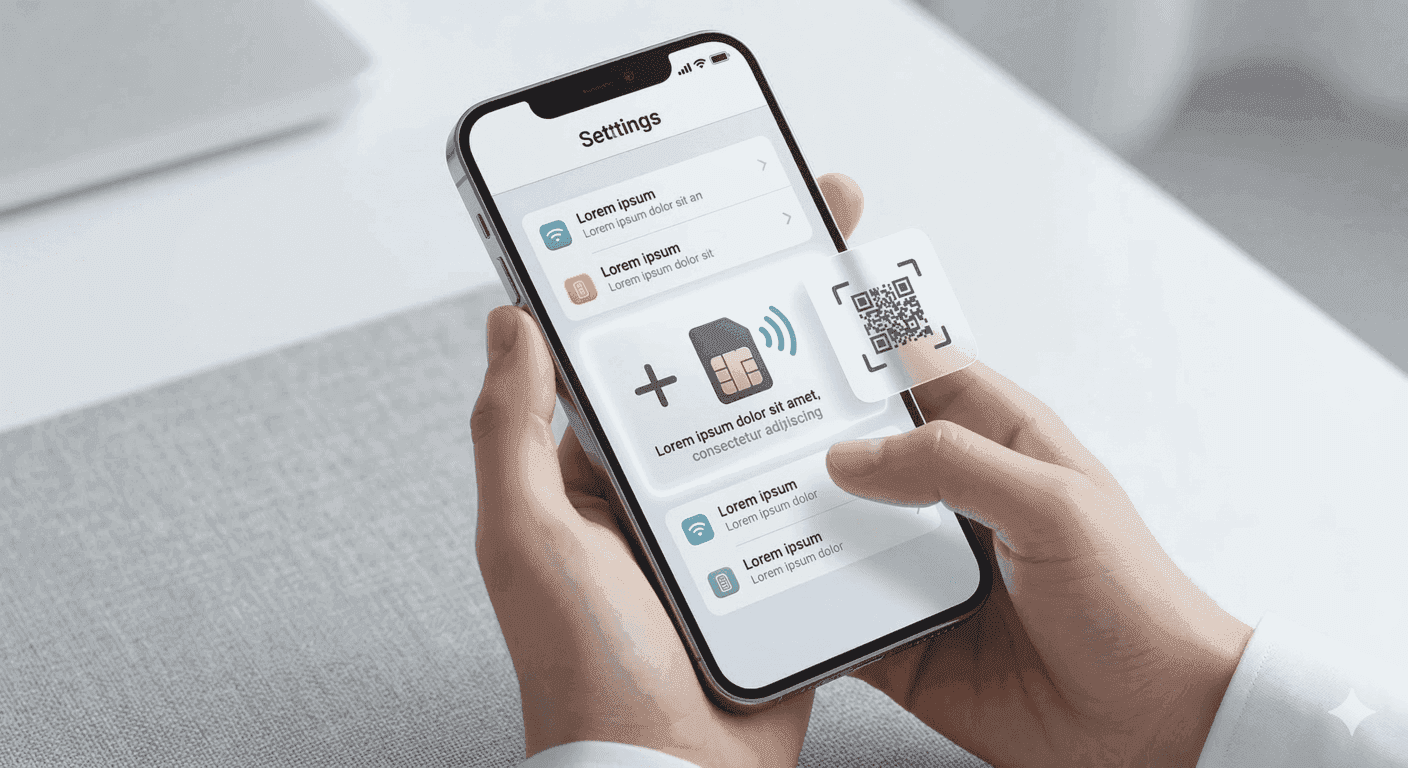
Setting up an eSIM on your iPhone takes about five minutes once you know where to look. Apple has supported eSIM since the iPhone XR (2018), and iPhones sold in the US have been eSIM-only since the iPhone 14. This guide walks through every step, from checking your phone to switching data on when you land, so your travel data works the moment you arrive.
What you need before you start
- An eSIM-compatible iPhone: iPhone XR, XS, SE (2nd generation) or any newer model. Our device compatibility list covers every model.
- A stable Wi‑Fi connection to download the carrier profile.
- Your eSIM activation QR code (sent by email or shown in your provider's dashboard), or the SM-DP+ address and activation code for manual entry.
- A carrier-unlocked iPhone. If you're not sure whether yours is locked, go to Settings → General → About and look for Carrier Lock. It should say No SIM restrictions. A locked phone will show a "SIM Not Supported" message when you try to add the eSIM.
Step 1: Open your iPhone Cellular settings
Go to Settings → Cellular (called Mobile Data in some regions). Tap Add eSIM or Add Cellular Plan. On iOS 17 and newer, this button sits on the main Cellular screen.
Step 2: Scan your eSIM QR code
Choose Use QR Code and point your camera at the code. Display it on a laptop, tablet or a printout, since you can't scan a code shown on the same phone. Hold steady until "Cellular Plan Detected" appears, then tap to confirm the download.
Only have the code on your iPhone? Tap Enter Details Manually at the bottom of the screen and paste the SM-DP+ address and activation code from your confirmation email.
Step 3: Label your lines (Dual SIM setup)
iOS asks you to label the new plan. Pick something obvious like "Travel Data – Spain" so you don't mix it up with your home line. iOS then asks you to choose default lines. For most travelers the best setup is:
- Default voice line: your primary (home) SIM, so you can still receive calls and SMS codes.
- iMessage and FaceTime: your primary number, so contacts see the number they already know.
- Cellular data: the new travel eSIM.
Step 4: Turn off "Allow Cellular Data Switching"
On the Cellular Data screen, make sure Allow Cellular Data Switching is off. If it's on, your iPhone can fall back to your home SIM for data when the eSIM signal drops, which is how surprise roaming charges happen.
Step 5: Switch on data roaming when you land
When you arrive, go to Settings → Cellular, tap your travel eSIM, and turn on Data Roaming for that line. Travel eSIMs connect through local partner networks, so most need roaming enabled to work. Leave data roaming off on your home SIM.
Give the phone a minute to find a network. You should see the local carrier name and 4G or 5G next to your eSIM line in Control Center.
Troubleshooting common iPhone eSIM problems
| Problem | What to try |
|---|---|
| "SIM Not Supported" | Your iPhone is carrier-locked. Ask your carrier to unlock it before you travel. |
| QR code won't scan | Turn up the brightness on the screen showing the code, or use Enter Details Manually. |
| "Unable to Complete Cellular Plan Change" | Check your Wi‑Fi, restart the iPhone and try again. Don't scan the same code on a second device. |
| Installed but no data abroad | Confirm the eSIM is selected for Cellular Data and Data Roaming is on for that line. Toggle Airplane Mode on and off. |
| No signal at all | Under the eSIM line, open Network Selection, turn off Automatic and pick a listed local network. |
If none of that works, contact your eSIM provider's support before changing anything else. Don't delete the eSIM while troubleshooting: once removed, a profile usually can't be reinstalled from the same QR code.
Tips for using your iPhone eSIM abroad
- Install before you fly. Do it at home on Wi‑Fi, a day or two before departure. Check your plan details for when the validity period starts.
- Watch your usage. Settings → Cellular shows data used per line. Turn on Low Data Mode for the eSIM if you're on a smaller plan. Not sure how much to buy? Work it out with our travel data calculator and guide.
- Share data with a laptop. Personal Hotspot works on the eSIM line, but it uses data quickly.
- Keep WhatsApp as it is. Your WhatsApp account stays on your usual number even when the eSIM provides the data.
Frequently asked questions
How many eSIMs can an iPhone hold?
Apple says you can store eight or more eSIMs on a compatible iPhone, with two active at the same time.
Can I keep my physical SIM in while using a travel eSIM?
Yes. On iPhones with a SIM tray, your physical SIM and the eSIM work side by side in Dual SIM mode.
What do I do with the eSIM after my trip?
Switch Cellular Data back to your home line. You can turn the travel line off and leave it installed in case you top up later, or delete it once you're sure you won't need it.
Is the process different on Android?
The idea is the same but the menus differ. See our guides for installing an eSIM on Android and setting up an eSIM on a Samsung Galaxy, or the installation help page for every device.
That's it: your home SIM handles calls and texts, the eSIM handles data, and you can skip the airport SIM kiosk. Browse travel eSIM plans for your next trip →
Ready to get an eSIM?
Browse plans for 190+ countries. Purchase in minutes, install in seconds.