
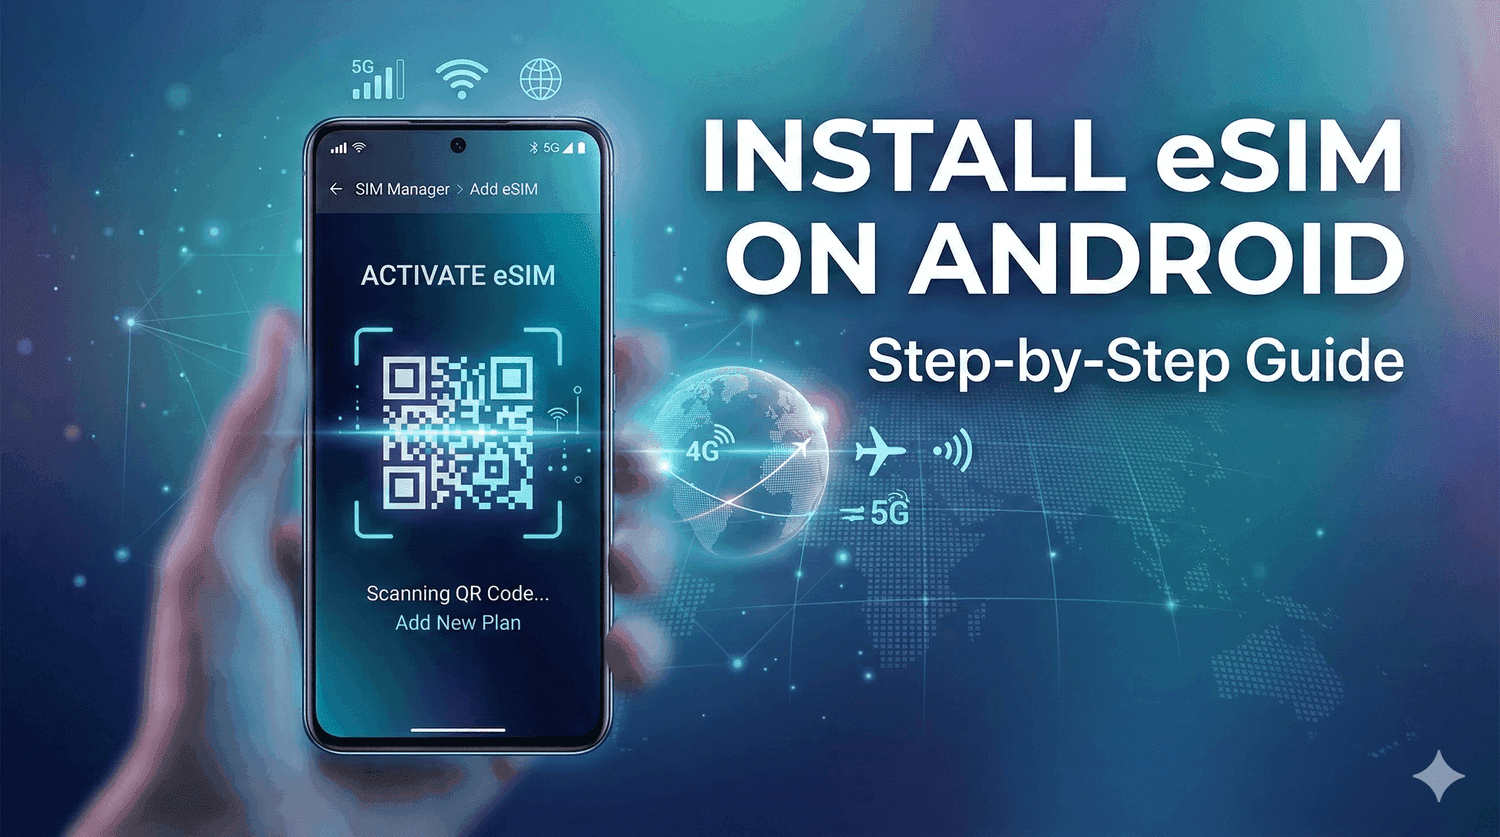
Installing an eSIM on an Android phone takes a few minutes: open your SIM settings, scan a QR code, and switch your data to the new line. This guide covers the requirements, both installation methods, and fixes for the most common problems.
What is an eSIM?
An eSIM (embedded SIM) is a small, programmable chip built into your smartphone. It does the same job as a physical SIM card, but the plan is downloaded instead of inserted.
Instead of fiddling with paper clips and tiny plastic cards, you download a data plan straight to your phone, which is handy for travelers and digital nomads. New to the idea? Our guide to what an eSIM is and how it works covers the basics.
Benefits of Using an eSIM
Once you know how to use an eSIM, you can switch between networks without visiting a carrier store.
Instant Delivery: Buy online and receive your QR code immediately.
Keep Your Number: Leave your primary physical SIM in your phone for texts and calls.
No Roaming Fees: Buy a local or regional eSIM and pay local data rates.
Eco-Friendly: Zero plastic waste and zero shipping emissions.
Requirements Before Installing
Before you attempt to install an eSIM on Android, you need to check a few basic requirements to ensure a smooth process.
A Compatible Device: Make sure your Android phone supports eSIM (most modern Pixels and Samsung Galaxy S-series do). Check your model on our eSIM compatibility list.
An Unlocked Phone: Your device cannot be locked to a specific carrier.
Stable Internet: You need a Wi-Fi connection to download the eSIM profile.
Your QR Code: Have your eSIM QR code ready on another screen, or printed out.
Important Note: You must buy your eSIM before traveling and ideally install it while you still have reliable home Wi-Fi.
Step-by-Step Guide to Install eSIM on Android
This Android eSIM guide covers the standard process. Menus look slightly different on Samsung, Google Pixel and other Android brands. Samsung owners can follow our dedicated Samsung Galaxy eSIM setup guide, and the installation help page has steps for other devices.
Method 1: Scanning a QR Code
This is the fastest and most common way to do an Android eSIM setup.
Open Settings: Navigate to your phone’s Settings app.
Go to Network: Tap on Network & internet (or Connections on Samsung).
Add Mobile Network: Tap the + icon next to Mobile network (or SIM manager > Add eSIM).
Choose Download: Select the option that says Download a SIM instead? or Add using QR code.
Scan the Code: Use your phone's camera to scan the QR code provided by your eSIM carrier.
Confirm Activation: Follow the on-screen prompts to download and activate the eSIM.
Method 2: Manual Activation
If your camera is broken or you can't scan the QR code, you can enter the details manually.
Follow steps 1-4 from the QR code method above.
When the camera opens, tap Need help? or Enter details manually at the bottom of the screen.
Copy and paste the SM-DP+ Address and Activation Code provided in your eSIM confirmation email.
Tap Continue to finalize the installation.
Troubleshooting Common Issues
Here is how to fix the most common installation problems.
QR Code Not Working
If your phone won't read the QR code, ensure your screen brightness is turned up on the device displaying the code. Double-check that you are connected to Wi-Fi, as the code won't validate without internet.
eSIM Not Detected
If you've installed the profile but have no service, go to your SIM manager. Ensure the new eSIM is toggled ON and selected as the primary source for "Mobile Data".
Network Issues
If the data is slow or not connecting, check if Data Roaming is turned on for your new eSIM. Most travel eSIMs require data roaming to be active to connect to partner networks.
Pro Tips for First-Time Users
Label Your SIMs: Rename your new digital SIM to "Travel" or "CloudOn" in your settings so you don't confuse it with your primary line.
Turn off Auto-Data Switching: Disable this feature in your settings to prevent your phone from accidentally using your primary home SIM for expensive data.
Track Your Usage: Keep an eye on your data limits through your Android settings or your eSIM provider's app. Not sure how much you need? See our guide to how much data you need when traveling.
Common Mistakes to Avoid
Deleting the eSIM: Never delete your eSIM profile if it stops working. Deleting it often means you have to buy a new one. Contact support instead.
Installing Too Early: Only activate your eSIM right before your trip, as some plans start their validity countdown the moment they are installed.
Forgetting to Unlock: Assuming your phone is unlocked without checking with your carrier first will leave you stranded without data.
Ready to Install?
To install an eSIM on Android you need a few minutes, a steady Wi-Fi connection and a QR code. Buy your eSIM before traveling, set it up at home, and you'll have data when you step off the plane instead of paying roaming charges. Browse CloudOn eSIM plans by destination.
Ready to get an eSIM?
Browse plans for 190+ countries. Purchase in minutes, install in seconds.